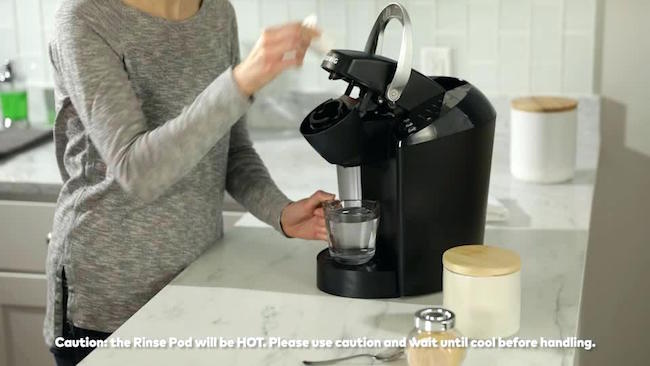
All the machines require some maintenance to be done. Otherwise, it will reduce its efficiency or worse- the system may shut down. When we talk about Keurig coffee makers, they too require similar maintenance. Well, there are many benefits of taking proper care of these coffee machines.

The increase in performance and more efficient use of power are some of the major advantages. The process we are going to focus here is the descaling one, and this is one of the most integral steps included with the Keurig troubleshooting, maintenance and cleaning. Find out the steps to be followed in Descaling.
How to Descale a Keurig Coffee Maker Machine
You must perform this Descaling process in every 3-6 months time. Talking about the scales formed within the unit, they are not harmful to health. Still, these scale buildups will badly affect the coffee drinking experience. We don’t want you guys to go through this situation. So it is better to descale the system, and keep the unit well! And also enjoy your coffee in the best way.
The steps for performing the descaling are explained below:
- First, you have to prepare the brewer, and for this, we need to get started with the water reservoir initially. Empty the water reservoir by pouring out all the water from the container.
- If you find any Keurig filter present within the system, then make sure you remove it before getting started with the descaling task.
- Also, you can disable the option of Auto-off, since it is recommended in the manual as well. This is an optional step, but we would still suggest performing this.
- Turn the brewer machine off after you are done with the previous steps.
- You will require one descaling solution, and Keurig provides their Descaling solution to get the process going. It is easily available from Keurig store, and so get one! Here the entire bottle is to be poured into the water reservoir for descaling.
- So, pour the complete descaling solution into the Keurig reservoir. After you have added the descaling solution completely, then add water into the empty descaling solution bottle. Then add the water into the tank. This way the container is now containing a descaling solution + water mixture.
- Now it’s time to turn the Power button on for this coffee brewer unit.
- As the next step, you will require one large mug and simply place it on the drip tray of this Keurig. Perform the cleansing brew process simply by lifting and lowering the handle. Here you are required to choose the 10 ounces size, and the BREW button provides on the machine surface.
- While there are some users who suggest using Keurig brewing pod here, you don’t require it. Avoid using brewing pod for performing this brewing process.
- After all the contents have been brewed into the mug, pour back all the coffee drink back into the sink. Well, you have to perform this entire process of cleaning for the second time. And you have to keep repeating this step till you receive More Water Please message on the machine’s digital display.
- Keep the system with the power on, for about 30 minutes. This step is not necessary if you are using Rivo® system.
- Now, 30 minutes have been complete. Remove any residue if present within the reservoir container. Rinse the brewer system entirely, and keep it clean.
- Here the last step is to rinse the water reservoir with fresh water. So fill the tank back with fresh water only till the level marked as the max fill line on the Keurig machine.
- You have to perform similar steps here, and that is place a large mug in the drip tray section. Now run the cleansing brew process, with the largest brewing cup size. In some of the Keurig brewers, you will be required to brew 6 ounces of hot water. Avoid using any brewing pod for this, and pour out all the contents into the sink.
- Repeat this cleansing process for about 12 times, and during this, s you may require to refill the container only once.
These are the steps for performing descaling process, and kindly perform them in the same order as given here. This is the final step which is performed after all the maintenance steps. Descaling is the final step in the maintenance procedure.
If you have got any query related to any stage included here, then let us know in the comment section below. Many users skip the descaling part, but it is essential for maintaining the good life of the brewer unit. Find more similar articles on our page CoffeeMakered.

I have K2 Coffee Pot. How do I clean with vinegar